
 There are a *ton of ways* you can use Wufoo to help make your life easier. And of course with the holiday season coming up, we know your inbox (or even, gasp, your mailbox) is about to fill up with party invites and thrilling events to come. You’re probably even planning one or three events yourself.
Now when it comes to party time, we’re more than equipped to manage invitations and registrations for your events. From handling [registrations](http://www.wufoo.com/guides/event-management-software/) for your organization’s event to wrangling RSVPs for your [wedding](http://www.wufoo.com/guides/plan-a-wedding-with-wufoo/), Wufoo is the perfect solution for really any kind of event or party you have in mind.
We want you to head into the *peak season for parties* feeling totally prepared and with these **quick and useful tips** for your invitation and event registration forms–you will be. Here’s how to show off who’s coming to your party after your guests have RSVPed.
## Things You’ll Need
1. You need an invitation or event registration form! You can make one from scratch or take advantage of our [invitations form gallery](http://www.wufoo.com/gallery/templates/invitations/), or our registrations form gallery.
2. Your invitation form needs to have a name field. Otherwise, how will you know who is coming?!
3. A report for your form with the datagrid on it.
4. ???
5. RSVP awesomeness!
Since probably only #3 is something you don’t already do every day in Wufoo, let’s walk you through on how to set that up.
## Setup Your Report with a Datagrid
After you’ve created your form and ensured there’s a name field on it (probably best to make it required too), head on over to the Report Manager. You can get there by clicking the **Reports** tab.
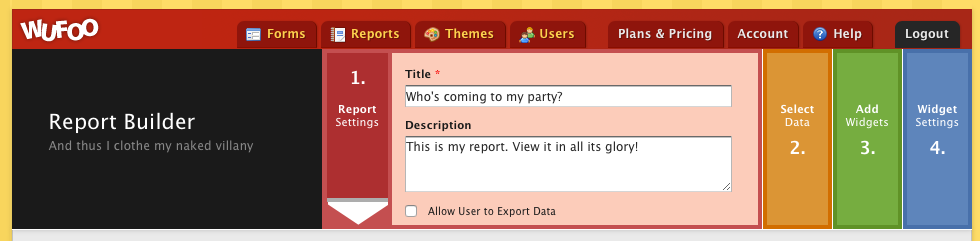
Once there, click **New Report** and you’ll be greeted with the Report Builder. In the first panel, labeled **”Report Settings”**, enter in a title for your report. We chose the wholly original title of, “Who’s coming to my party?” but you can do whatever you please.
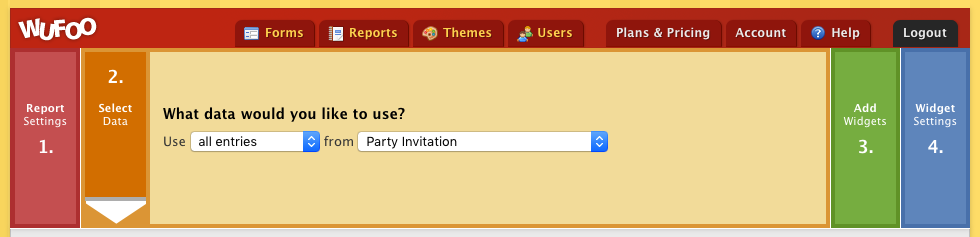
Next, click on the second panel labeled, **”Select Data”**. This is where you’ll select what data the report is pulling its data from. This is also where you’ll want to select your invitation form. Ours was titled, “Party Invitation”.
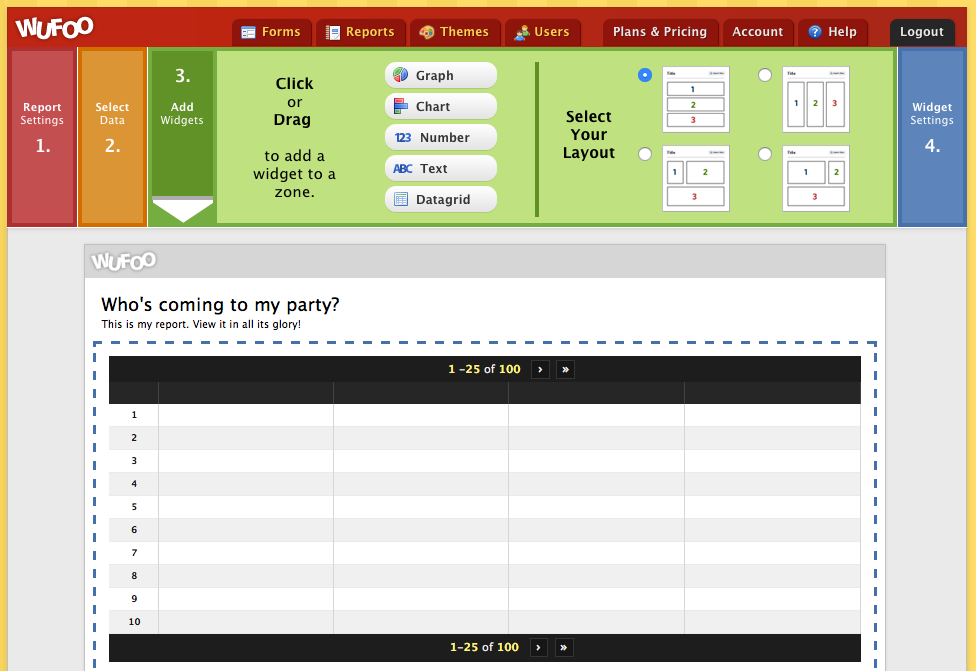
Thirdly, move onto the third (heh–see what we did there?) panel labeled, **”Add Widgets”**. This is where we’ll add a data grid widget. You do this by clicking the **”Datagrid”** button. Do so and a datagrid shall appear on your report.
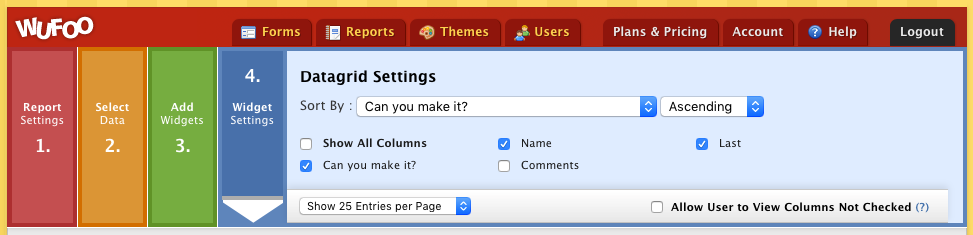
Finally, click on your new datagrid and then head on over to the last panel labeled, **”Widget Settings”**. This is where we’ll customize the data that is presented in the datagrid itself. We’ve chosen to show data from the field, “Can you make it?”, the first and last name of each person, along with their RSVP response.
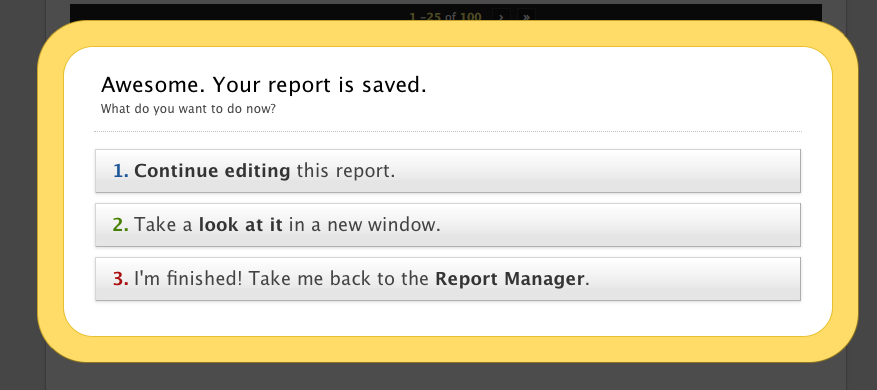
After you’ve done this, click the Save button and then let’s head on back to the Report Manager.

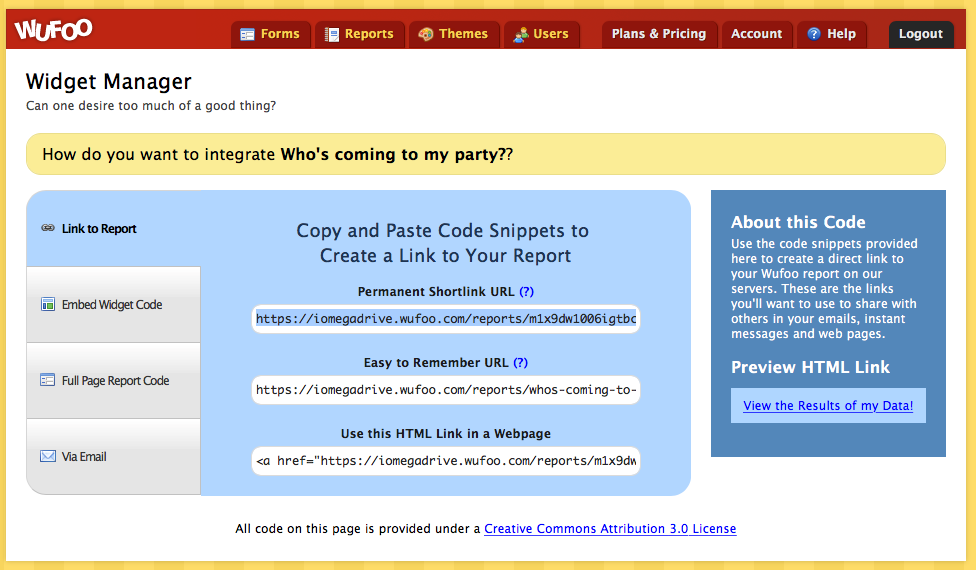
At the Report Manager, find your newly made report. First, click the option that says, “Public”. This makes sure your report is viewable by everyone. Next, click on the button labeled, “Widgets“. You’ll be taken to the Widget Manager for your report. From here, find the **”Permanent Shortlink URL”** for your report which is located in the **”Link to Report”** section. *Copy this link!*
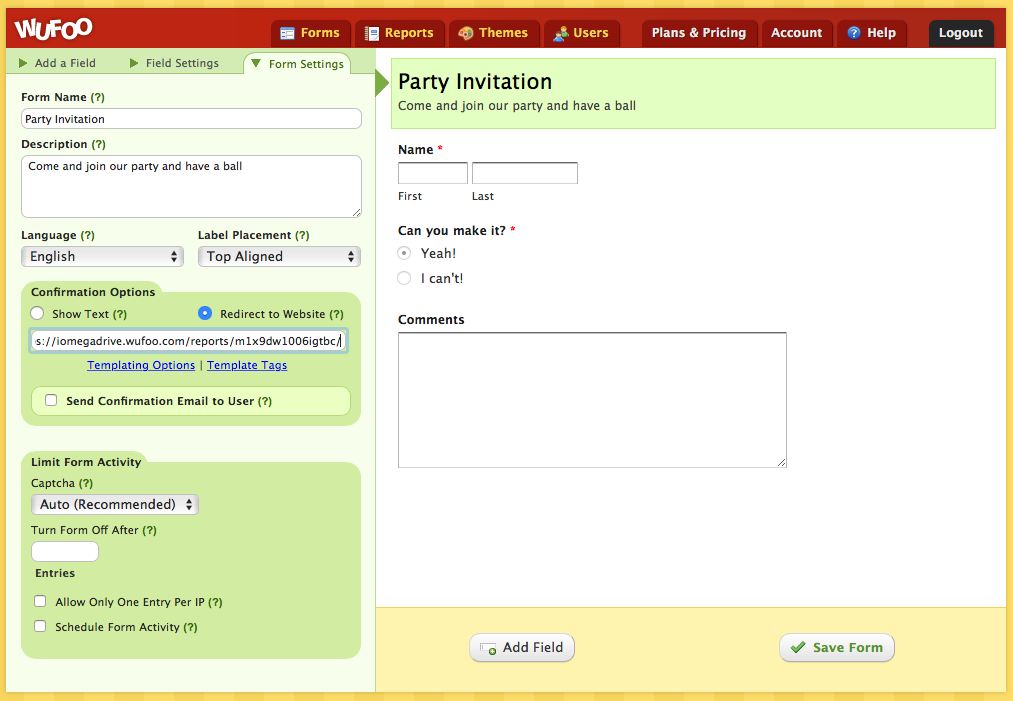
Now, head back to the Form Builder for your invitation form. In the Form Builder, go to the **Form Settings** tab and find the **”Redirect to Website”** option. In here, paste in the URL for your report and then click Save Form.
Voila! Now whenever one of your guests RSVPs to your event, they’ll be redirected to your report which lists everyone who is coming to your party.
Got comments or feedback? Let us know in the Comments section below.
In the meantime? Get to partying, people!
Comments
Love this idea and wanted to use the ‘link to report’ option to keep group leaders updated on group trip signups – but, when I tested this, the link to the report page said “This Page is Not Accessible to the Public – You do not have permission to view this report.”
If I want to use the option of sending the report link in an email, or just providing the link directly, what do I have to do to give them permission to see the report results.
Posted October 29th, 2015 by Carol Rowland.Thanks,
Carol
Thanks for the post! My question is can I build a report pulling multiple data sources? ie. several forms into the one report for comparison purposes??
Posted October 29th, 2015 by Tahnee Shepherd.Thanks!
Tahnee
Missed a step! After creating the report you need to tick the Public checkbox in the Report Manager. You might want to update the article to include this.
Posted October 29th, 2015 by Henry.Would this work for events that involve payment? We currently use PayPal Standard so there is a website re-direct….just wasn’t sure if the website redirect to the report and to the payment option would work in a single event.
Posted October 29th, 2015 by Jennifer Dunn.@Henry you’re right! Updated the post.
Posted October 29th, 2015 by Johan Lieu.